N247BR
Ailerons
Aileron Page
1 Aileron Page
2
Aileron Page
3
Aileron Mounting
 |
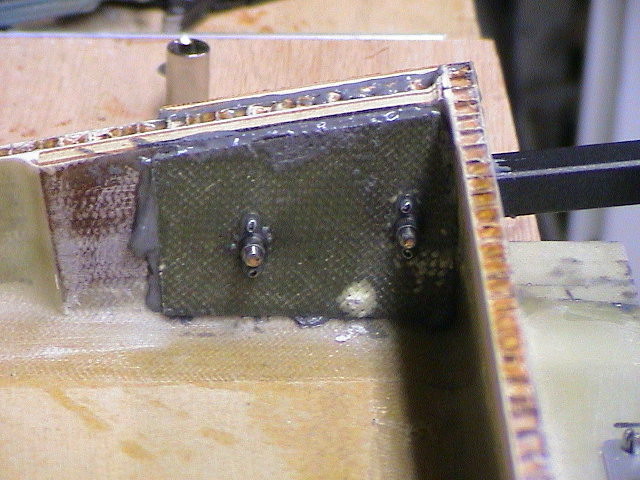
Never one to follow the directions I put a little extra support on the counterbalance rod. |
 |
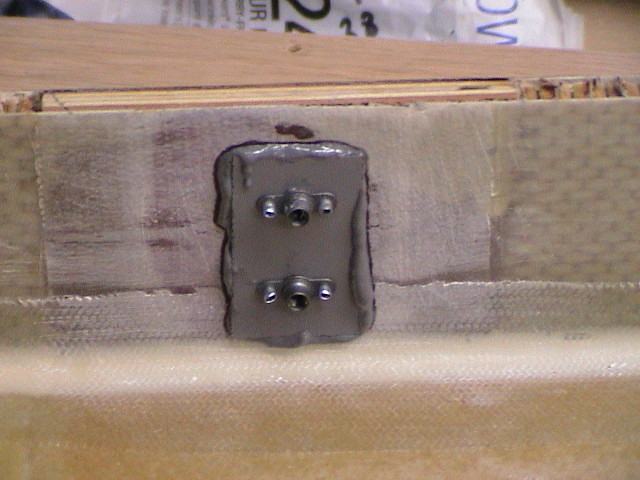
The nut plate is bonded to the inside. |
 |
I also used a nutplate for the aileron control horn.
The bonding agent is the Aero-Poxy Adheasive which is a very strong and great adheasive which has the added benefit of having a 1-1 mixture ratio. It makes it very easy to mix small amounts for small parts bonding. |
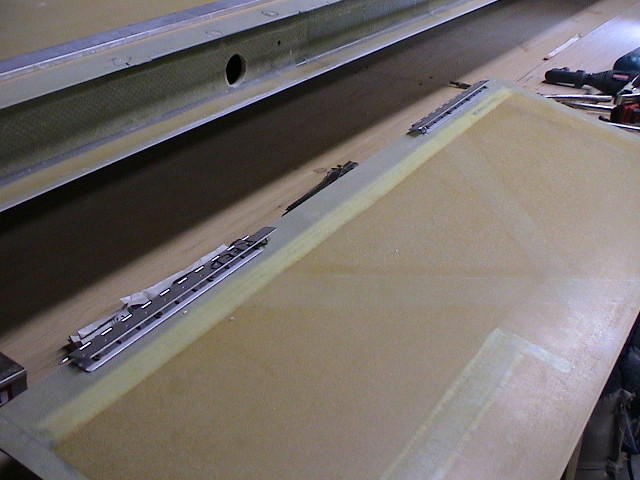 |
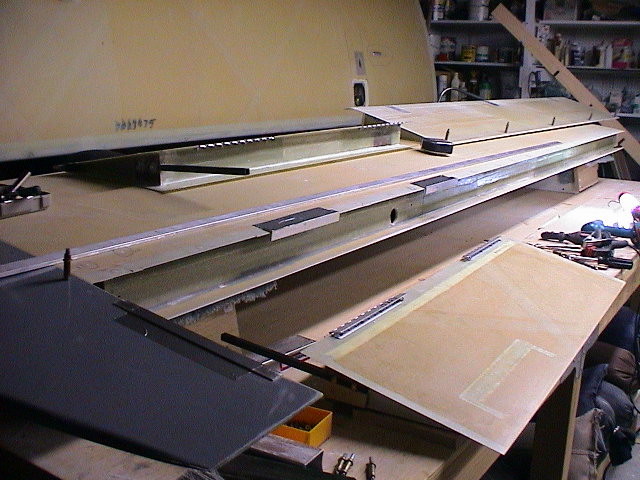
I mounted the hinges to the Aileron first using a straight edged for alignment. They are initially mounted to the outside of the aileron. |
 |
I used a straight edge to help cut the hinge slots in the trailing edge. Before fitting the aileron I positioned the wing tip and clecoed it into place as a guide for positioning the aileron. |
 |
Using pieces of aluminum angle for a spacing guide to help with alignment. They are taped into place to prevent them from moving. |
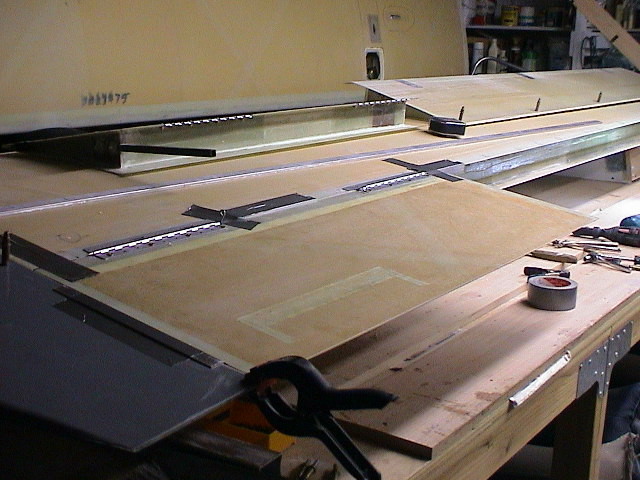 |
The aileron is then positioned and carefully taped into the proper position. The edges were all double checked and then the holes for the hinges were drilled. |
 |
After the holes are all drilled, the hinges are repositioned to the inside of the wing and aileron. The aileron is perfectly positioned. I am using removable hinge pins which makes the whole process much less time consuming. |
 |
The next process is to trim the ribs and spar until the aileron swings freely without binding on the bottom. Duct tape is your best friend during the time consuming and very repeatative process. |
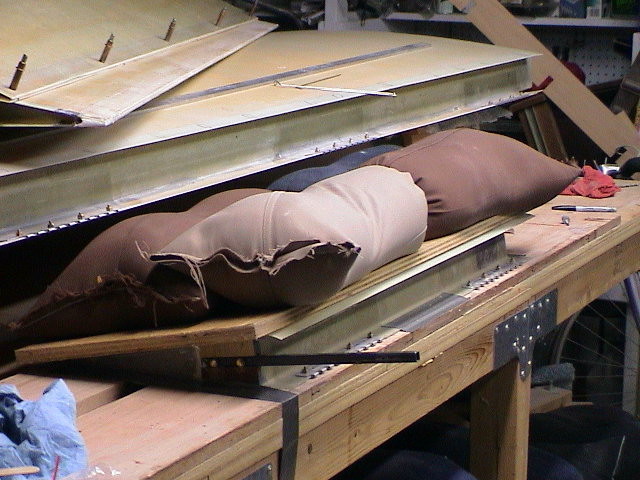 |
Close out! I used a nice flat piece of plywood to help remove a slight bow to the bottom of the aileron. |