N247BR
Wing Tips - Installation (Right)
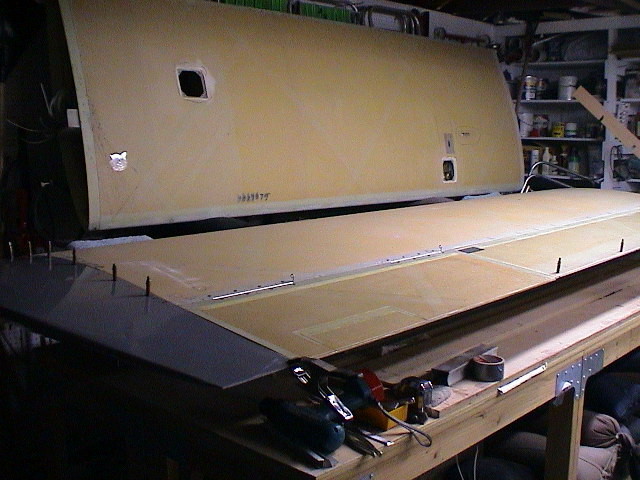 |
Installation of the wing tips should be made in conjunction with trial fitting of the ailerons. Use the wing alignment jig to position the aileron and then fit the wing tip to the aileron. The main part of fitting the wingtip was to sand and / or grind the inside of the wingtip surfaces to eliminate any extra thickness. Careful sanding of the edges and surfaces should fit the wing tip without cutting. |
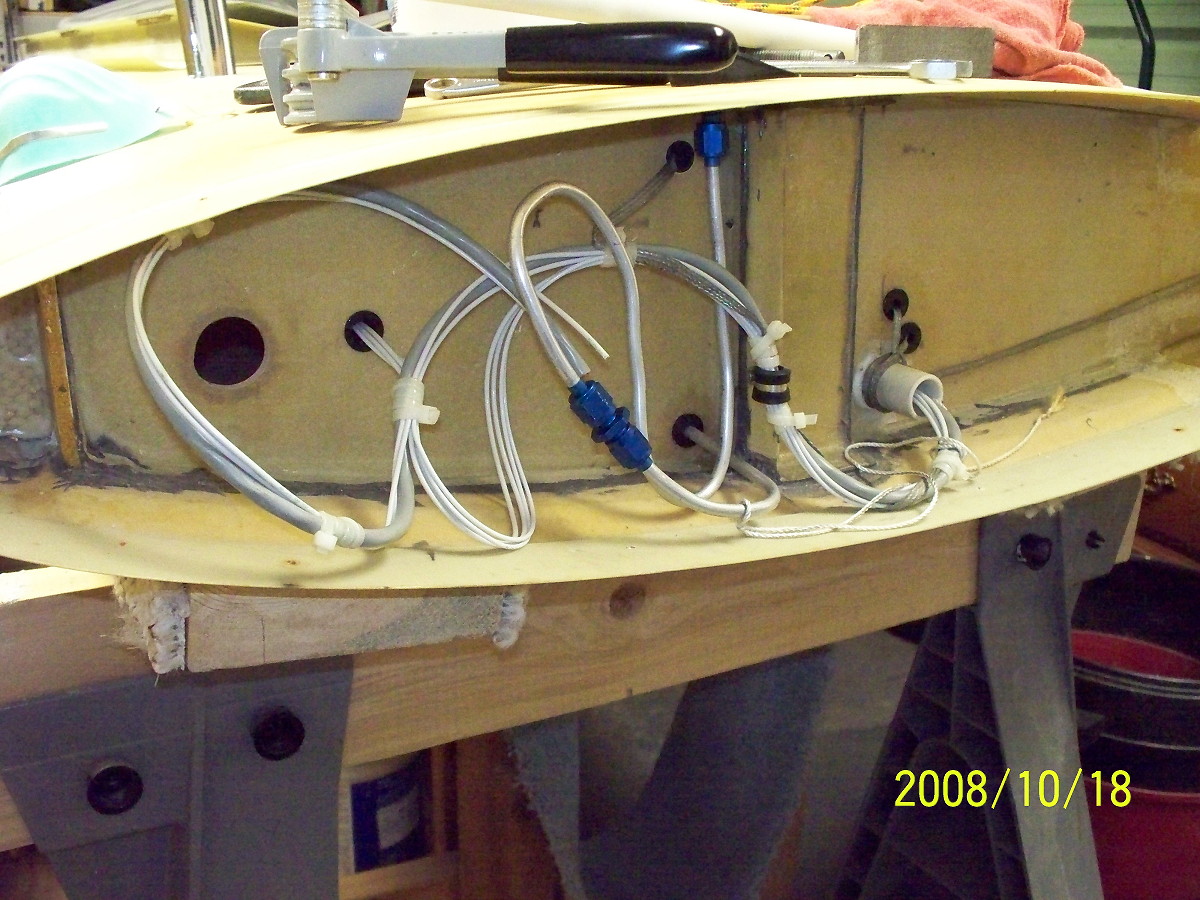 |
The wiring and fuel tank vent lines are shown. The wiring is for the position lights, landing light and aileron trim. |
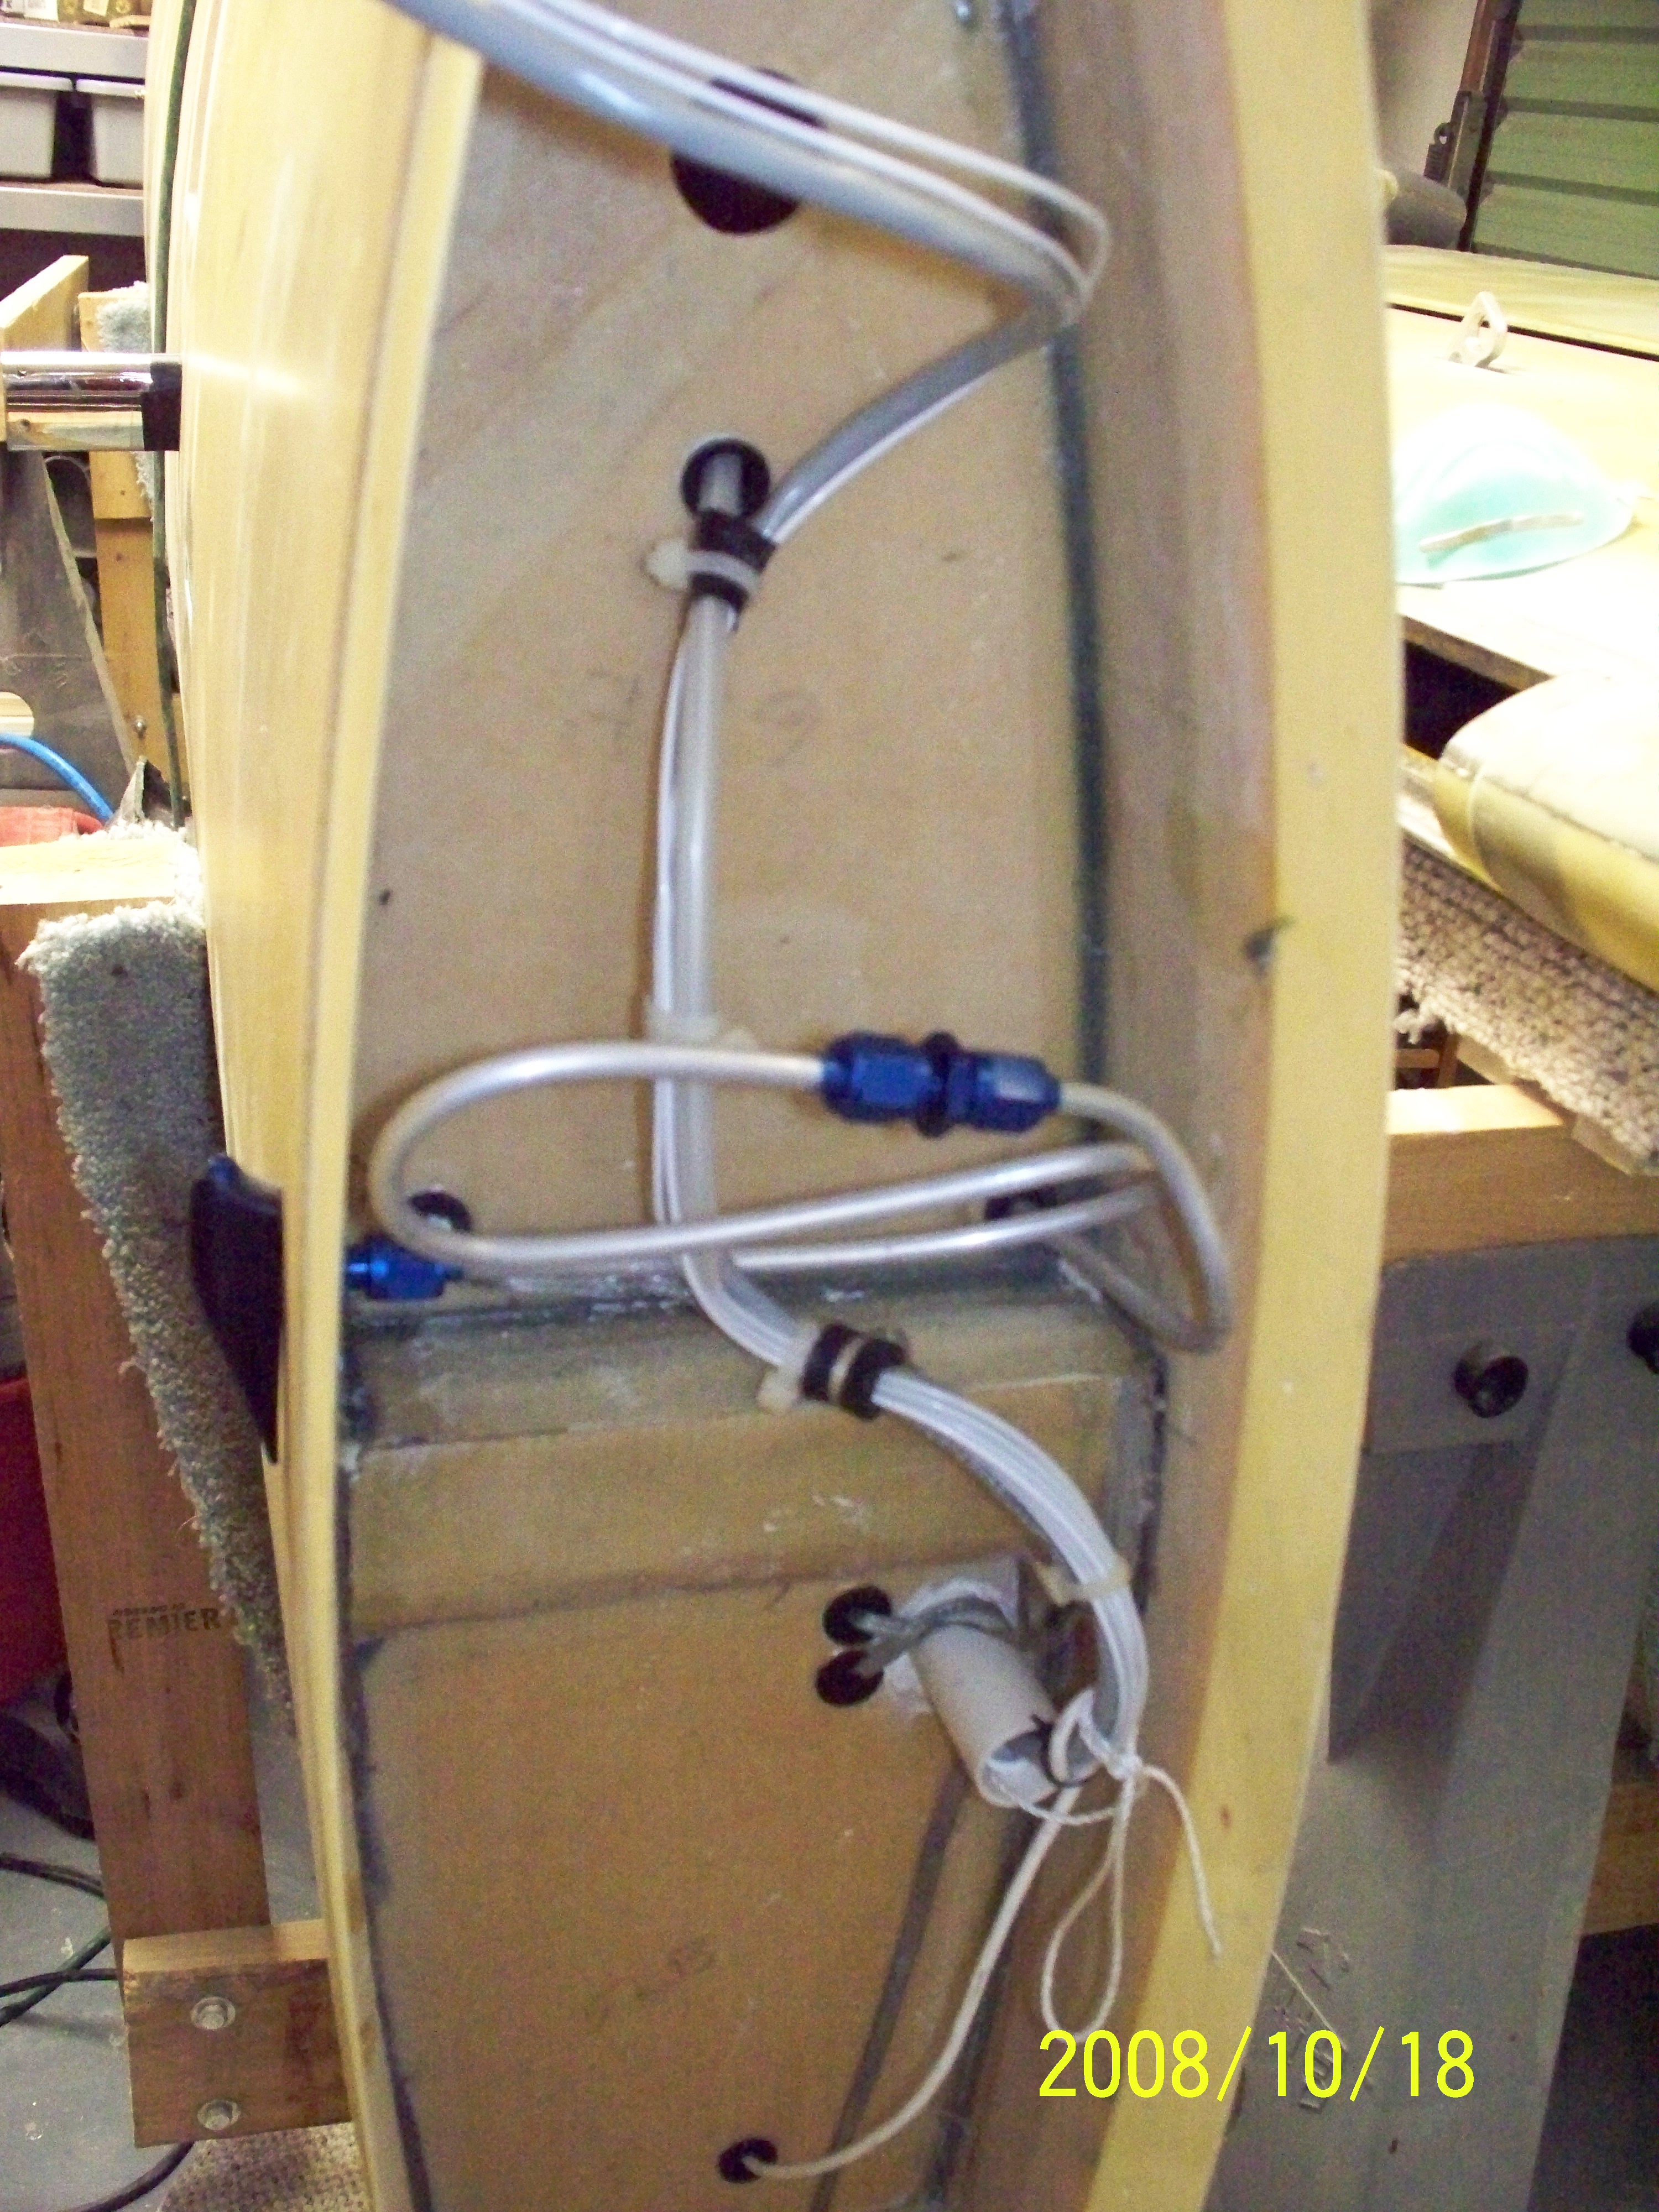 |
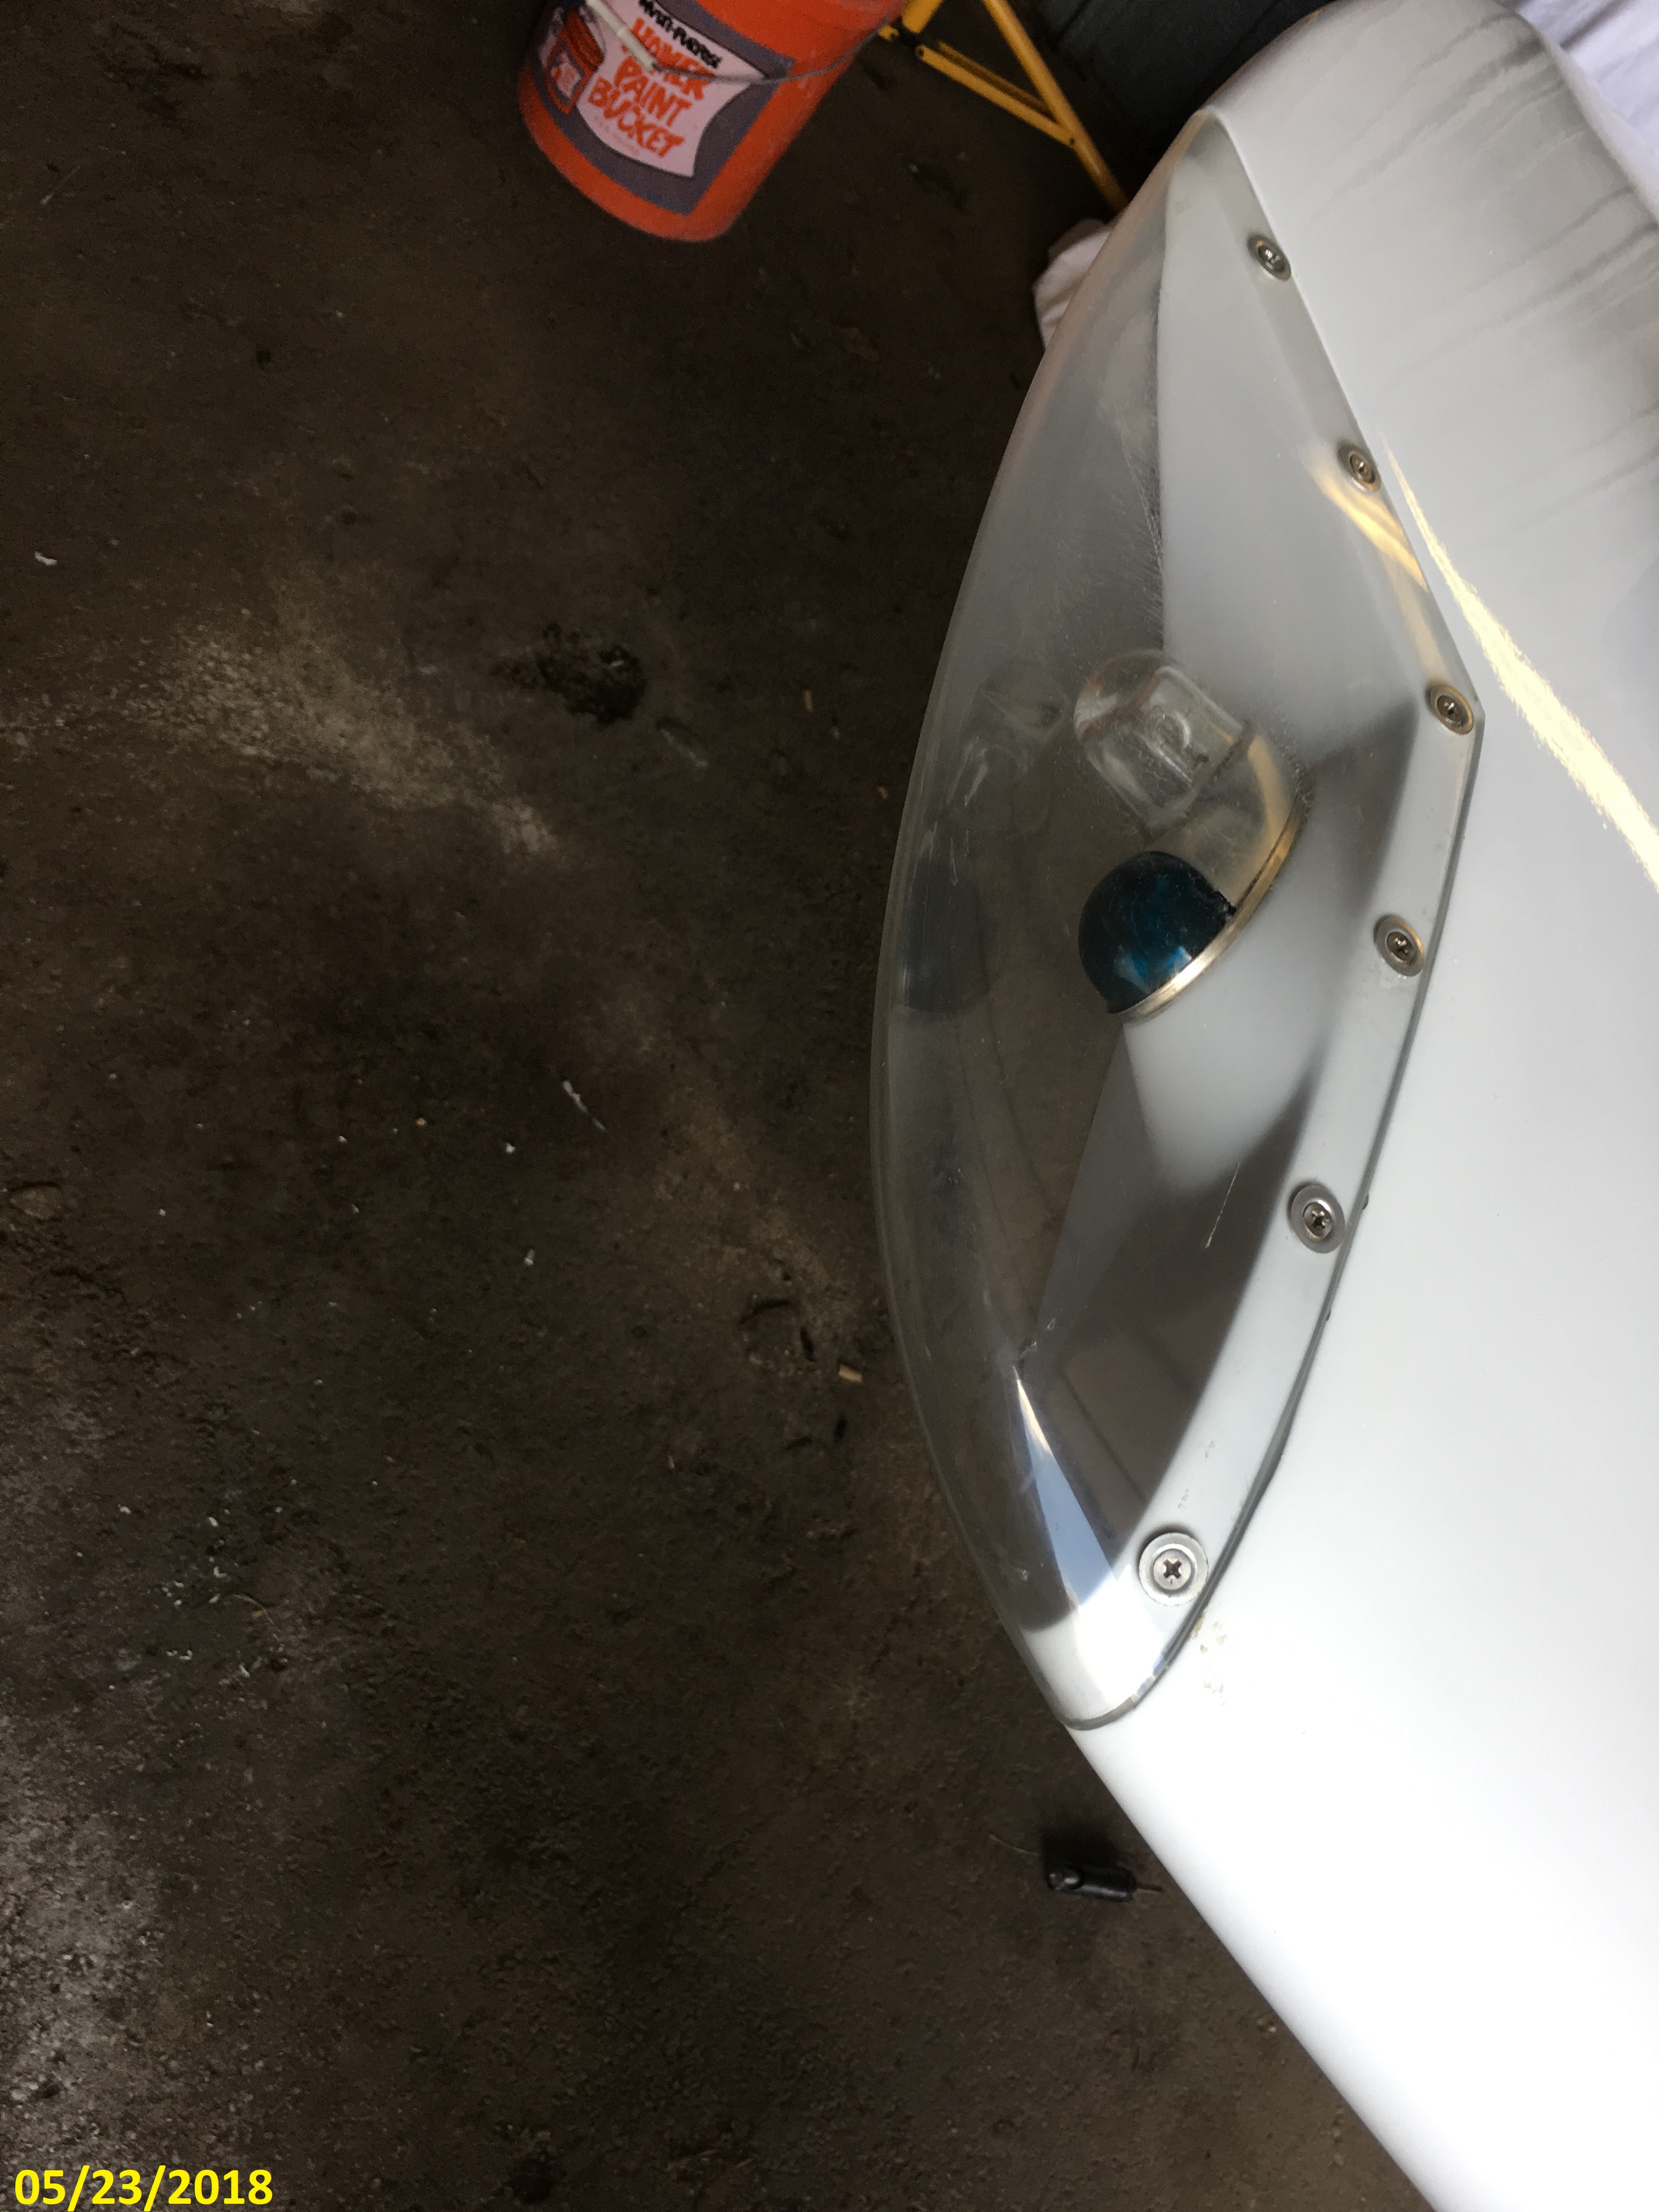
The left wing wiring and fuel vent routing. The
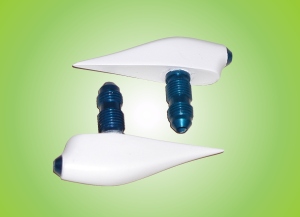
aerodynamic fuel vent (black on left/bottom side of the wing) is from http://www.aircraftextras.com/FuelVents.htm
|
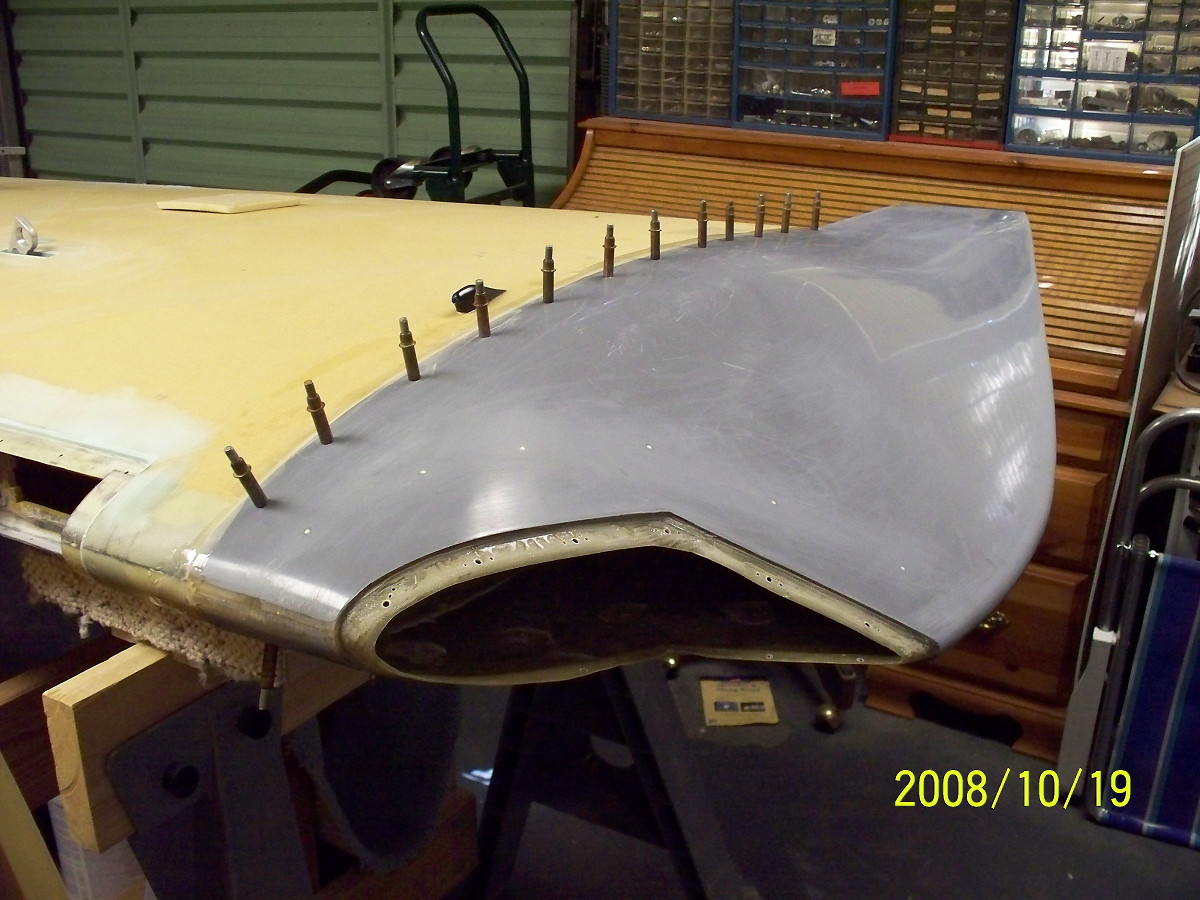 |
The wing tip is installed and bonded using an epoxy adhesive. The small black item on the wing next to the wing tip is an aerodynamic fuel vent. It is shaped like a teardrop with the opening facing the fron of the wing. Really looks good after it is painted. |
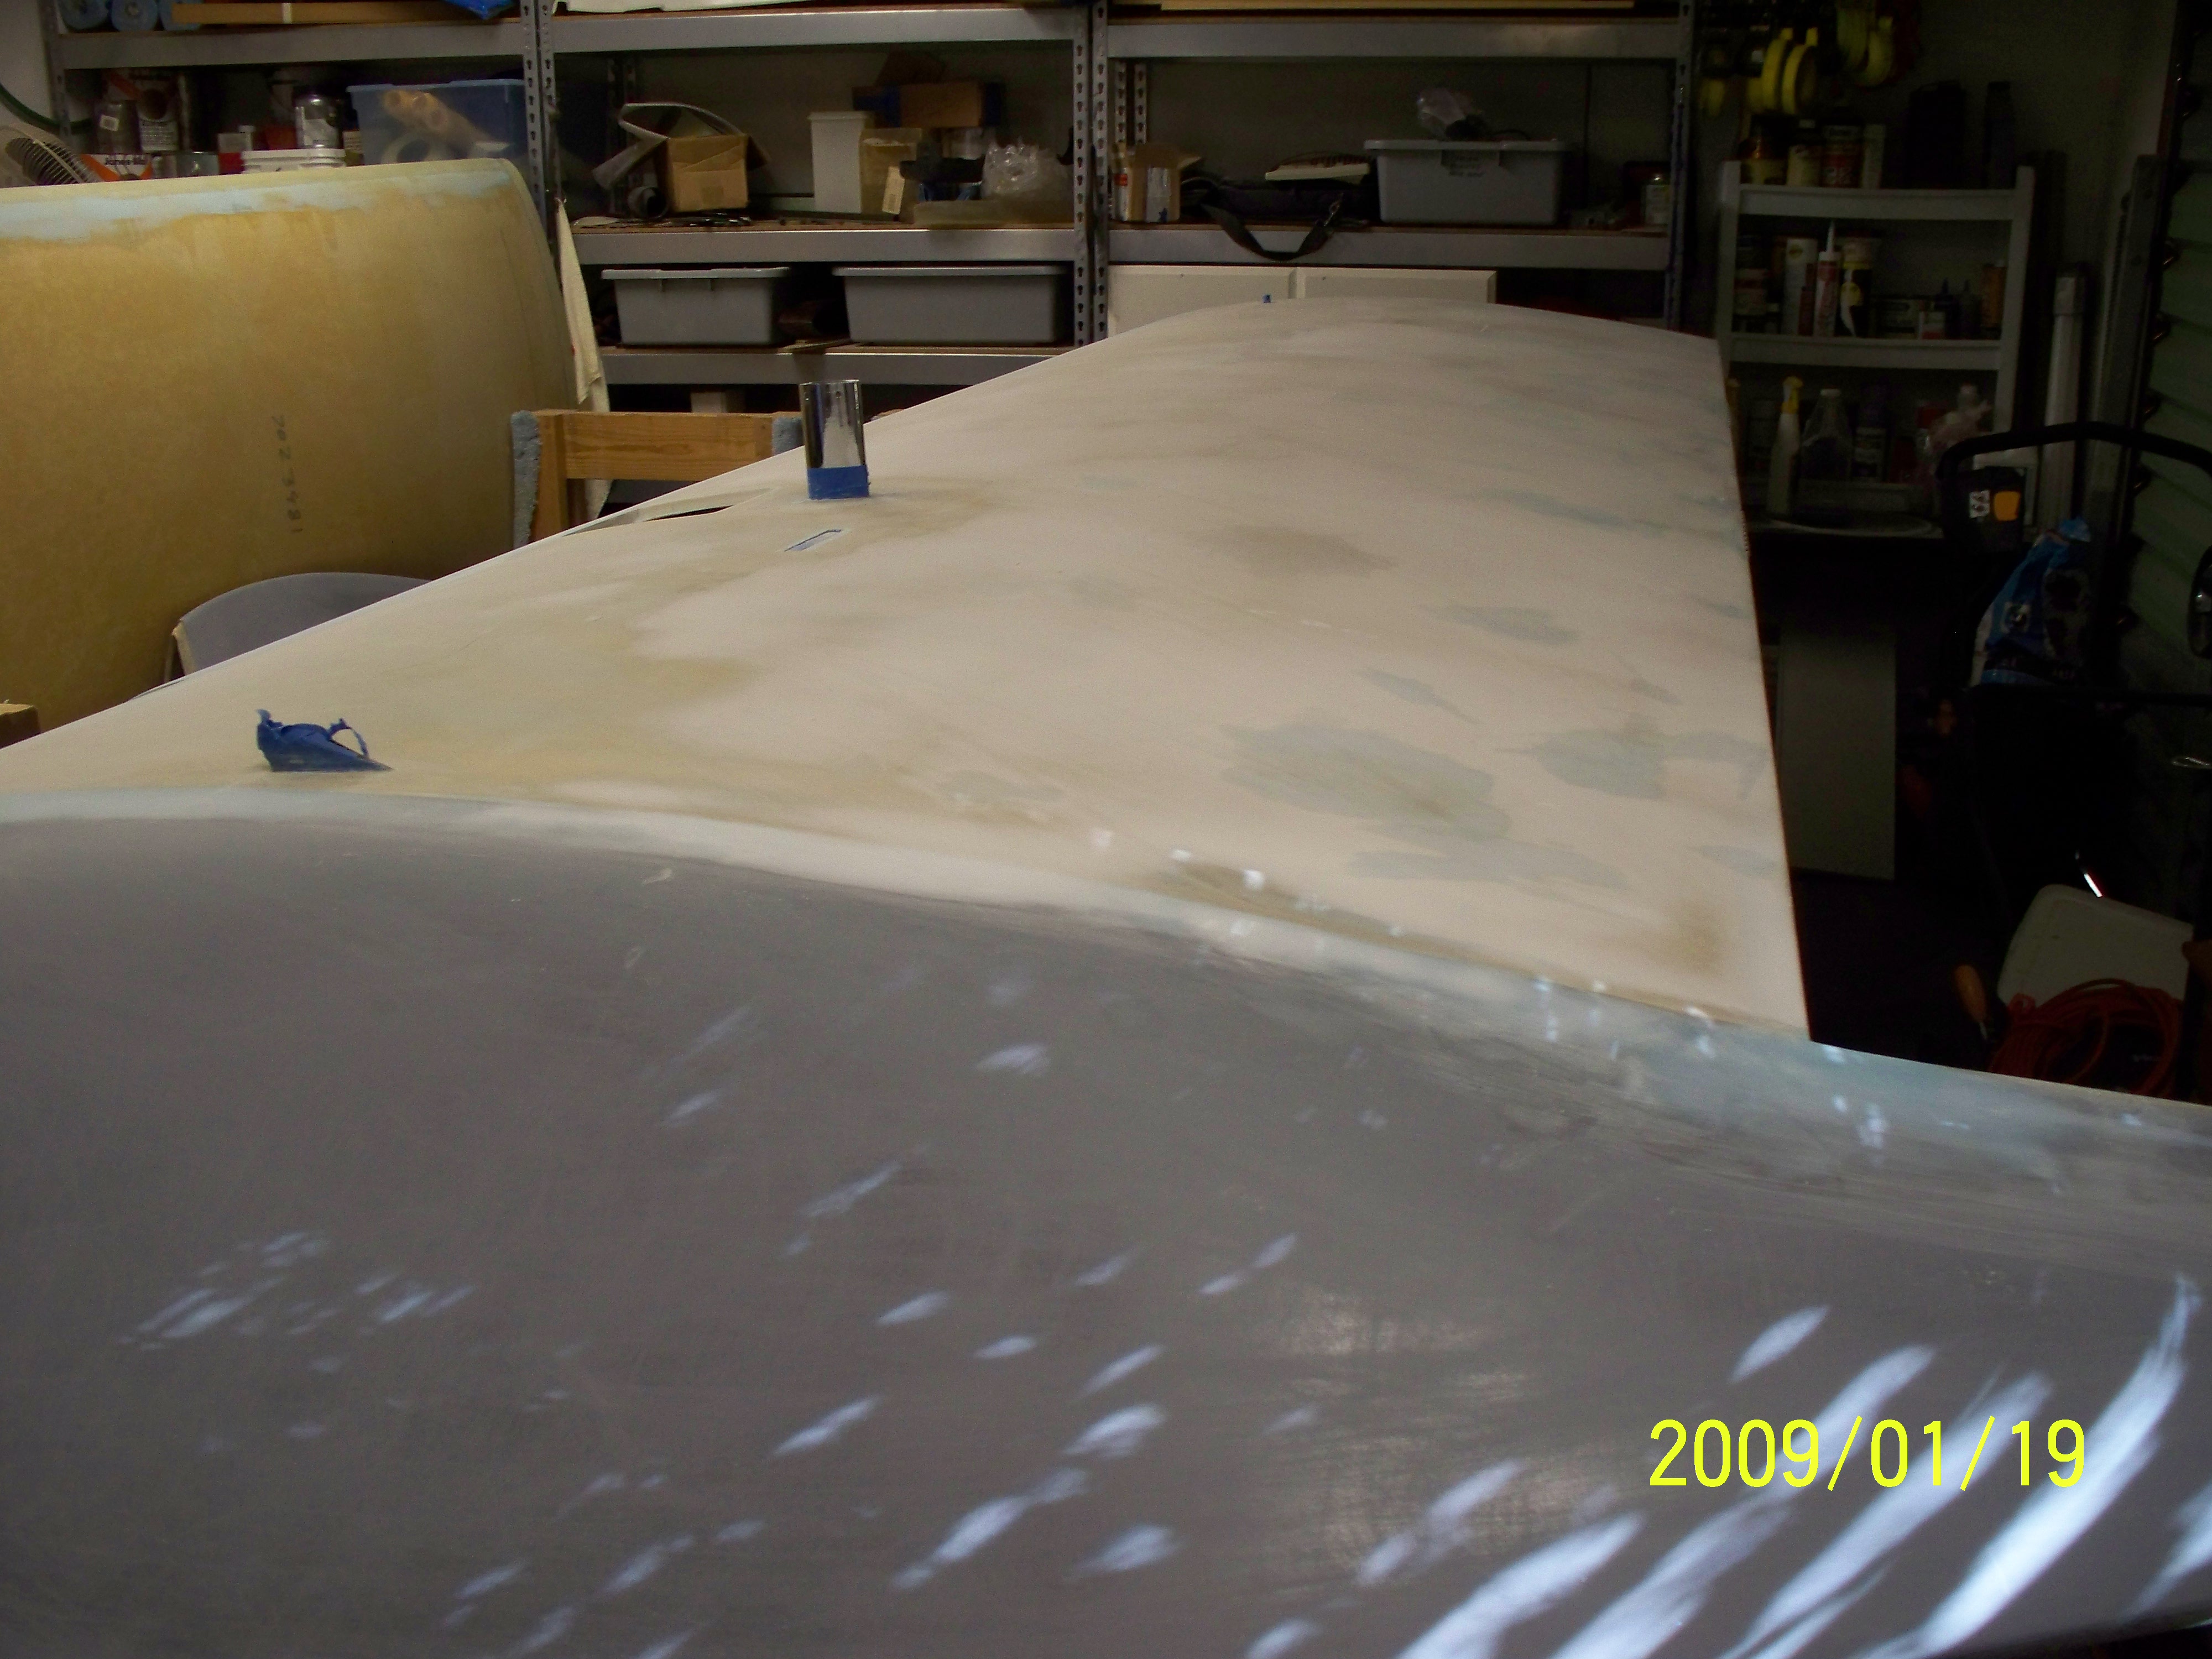 |
Wing tip is installed, the joint has been smoothed and sanded. A layer of lightweight glass has been applied, sanded, and prepared for finish. |
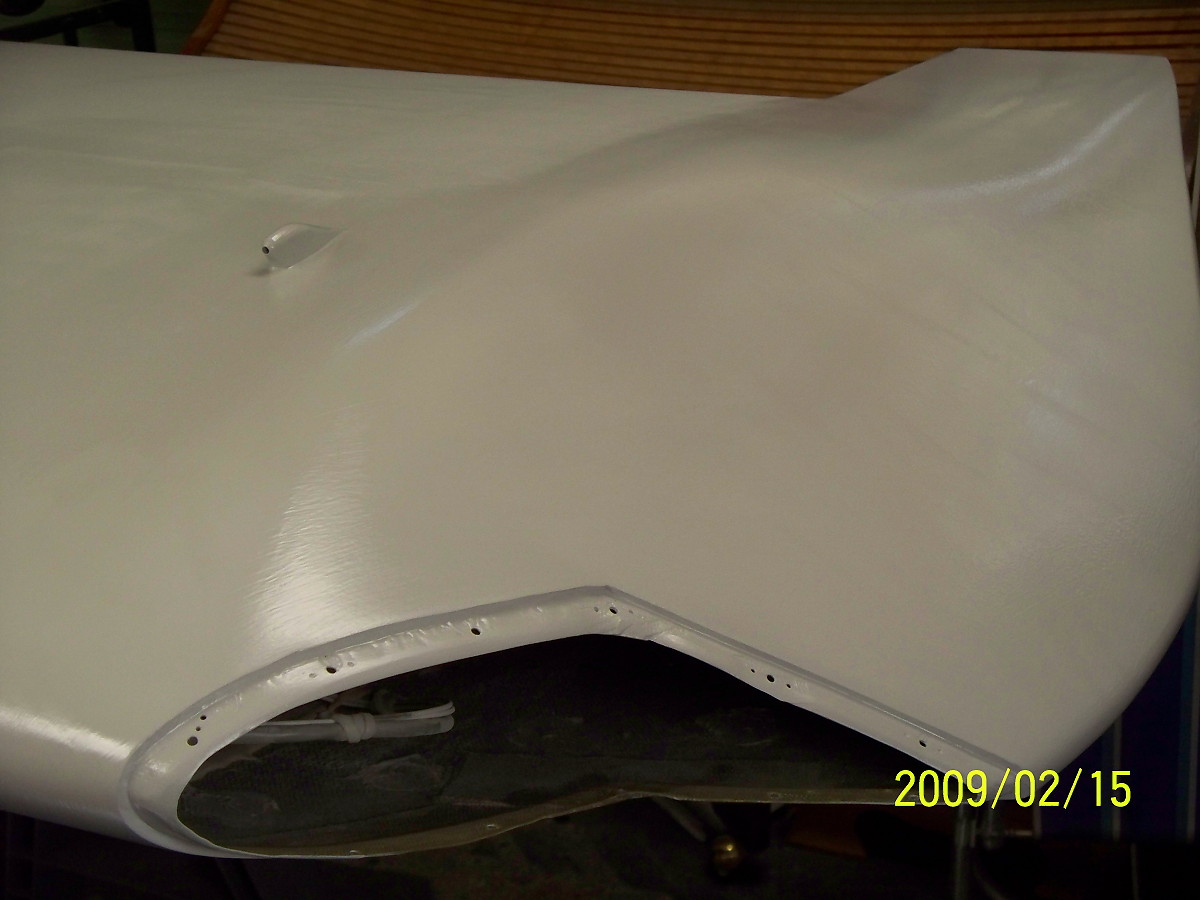 |
The Finished Wing Tip after filling and sanding with primer is seamless and ready to finish. |
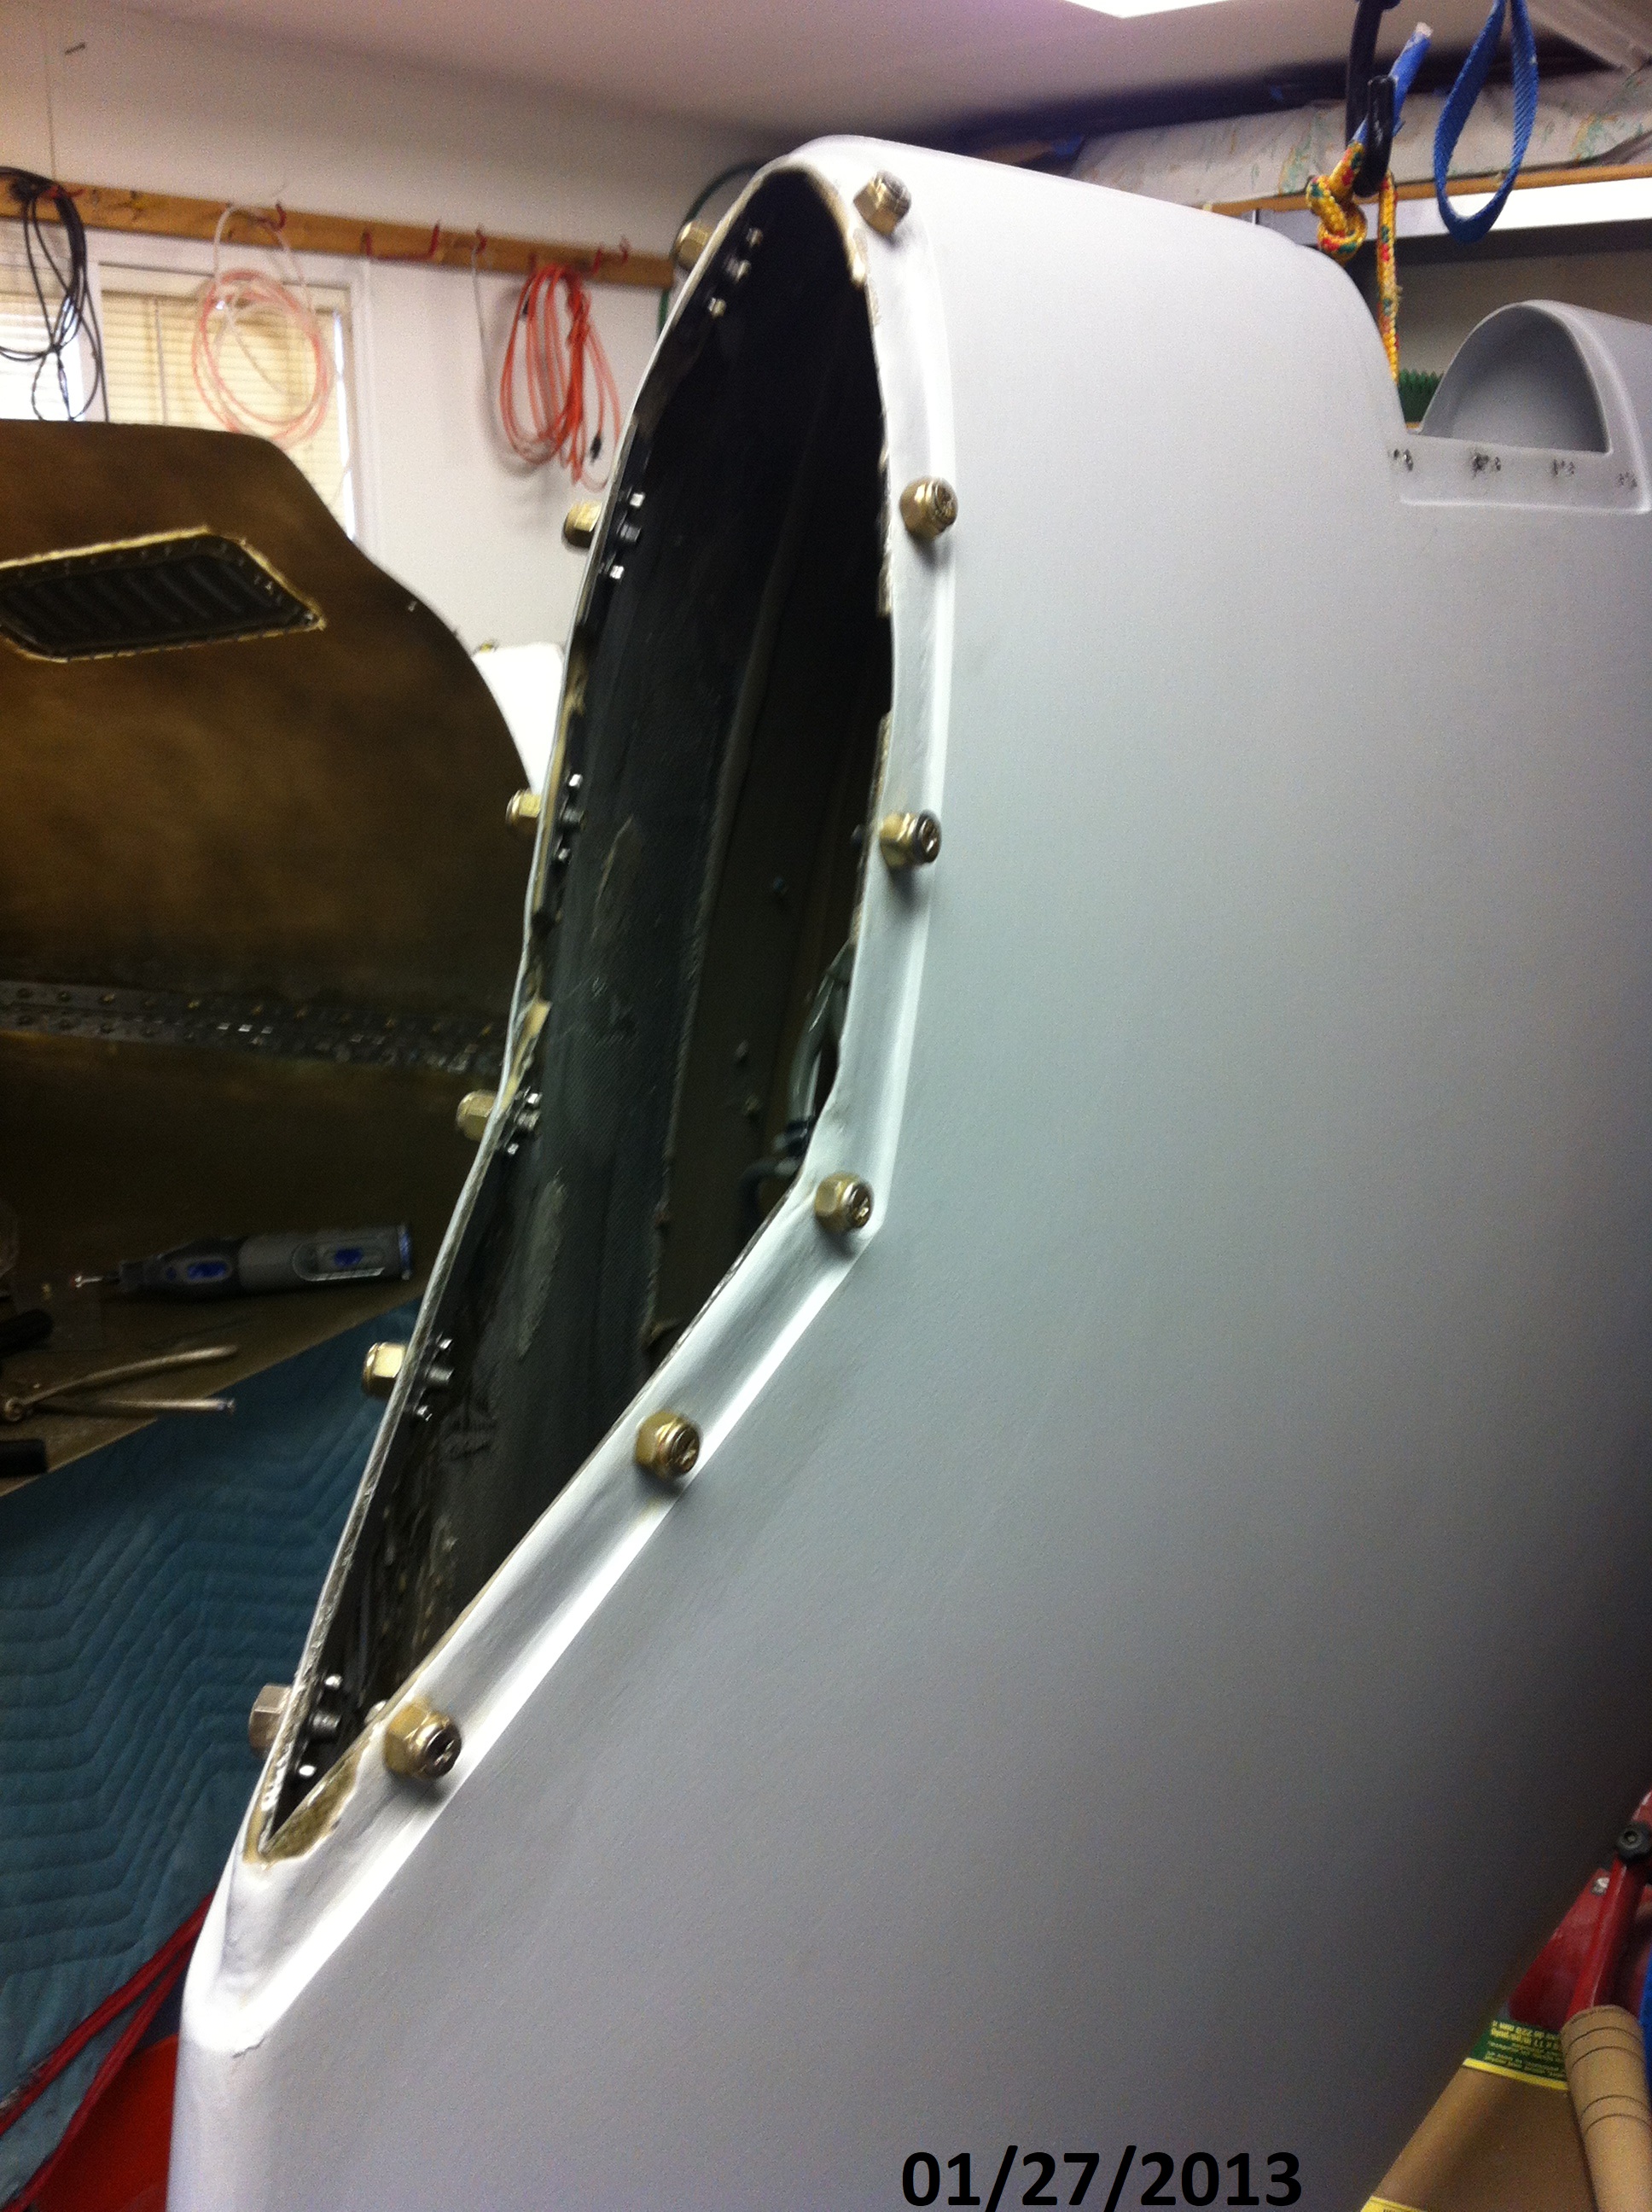 |
Wing has been
sanded and primed. Nut plates were installed by bonding
fiberglass scraps with the nut plates rivited into place on the inside
of the wing tip opening. Used screws and spacers to clamp the nut
plates into place. |
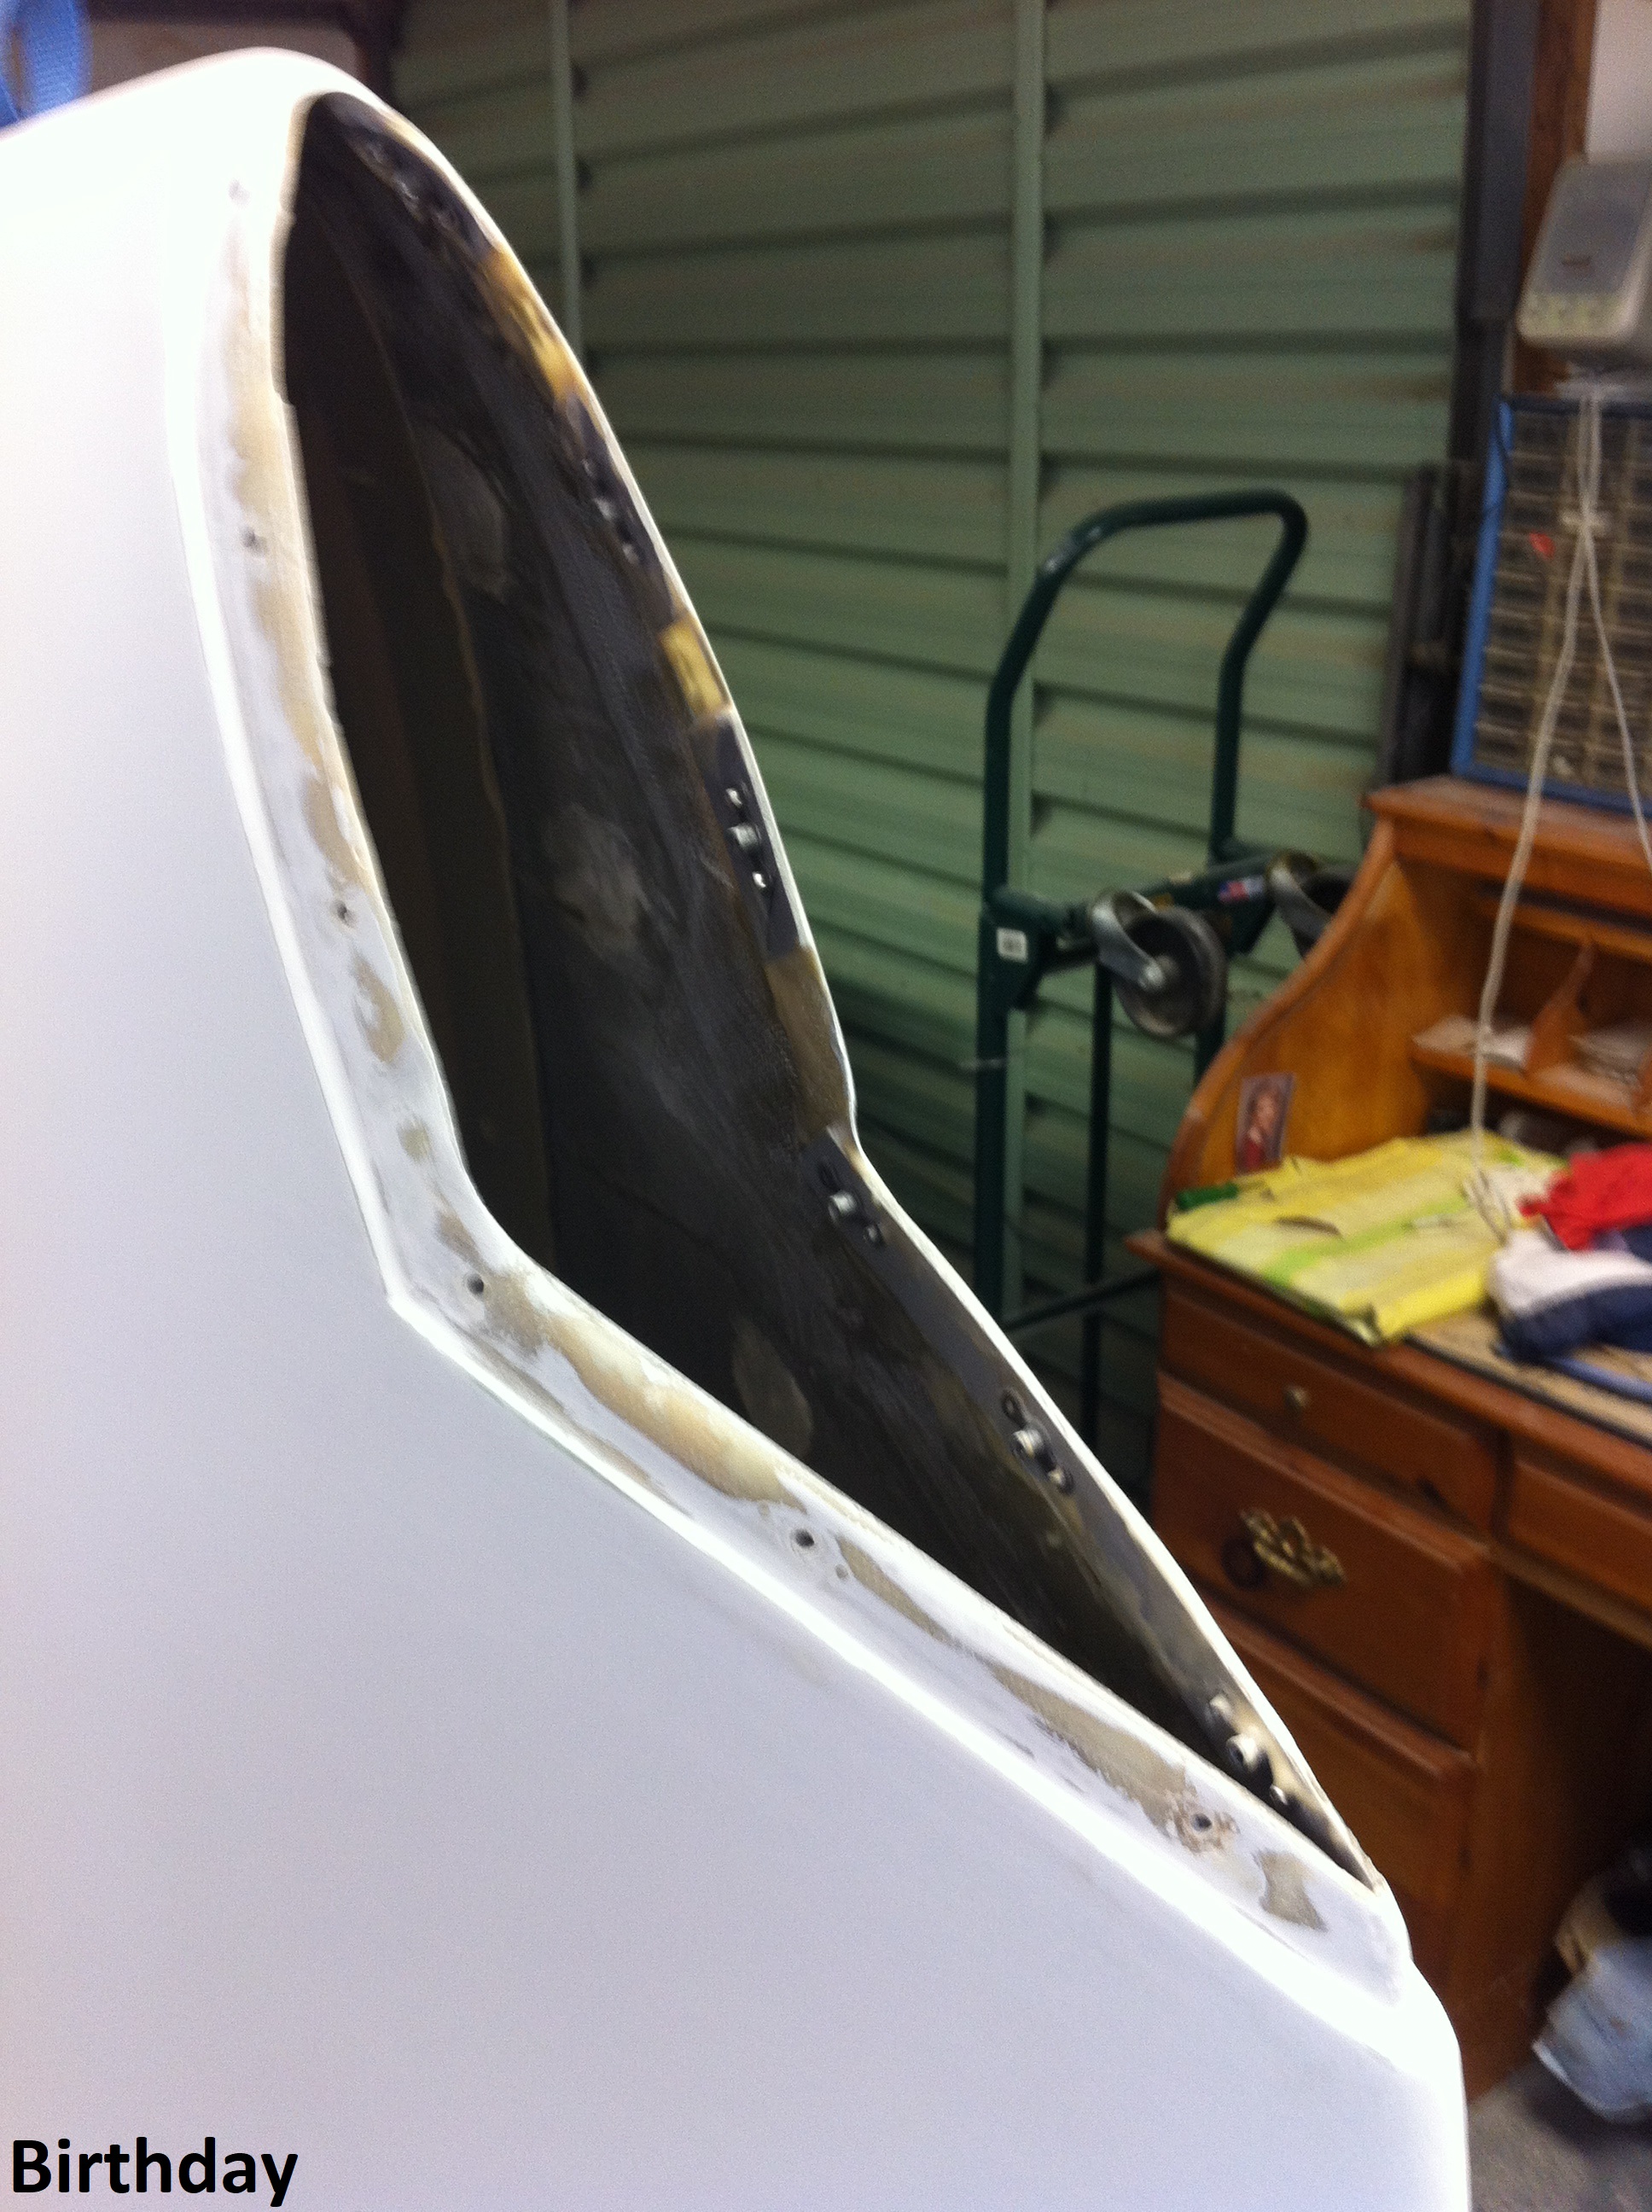 |
The completed
nut plates have been installed and the opening has been cleaned up and
the plexiglass checked for fit. |
 |
It's
taken way too many years to get to this point with two attempts at
painting and many, many road blocks along the way but the completed
wing tip looks great. |