|
I have broken the door preparation into several sections to
keep
the individual pages smaller and give some logical sections.
|
|
|
| An arm rest is not a necessary addition if the
standard door latch/lock is used but, the handle supplied with the door
latch from Lyle Hendricks would stick up higher and further into the
cockpit. I did not want the handle to be in an exposed position
which might be caught on a shirt sleeve and opened by accident.
By fabricating an arm rest where the handle is recessed, it can
be protected. I also like the idea of having the arm rest for the
comfort factor while working the throttle controls.
I used the standard technique of shaping the arm rest
with blue foam and covering it with tape to form a mold. This is
then covered with the fiberglass bid, allowed to cure, and then popped
off the mold. The mold is then removed and
discarded. In the past this technique has worked well but
without a vacuum bagging system it may not form well to a complex
shape. This time I tried a slightly different technique with very
good results.
|
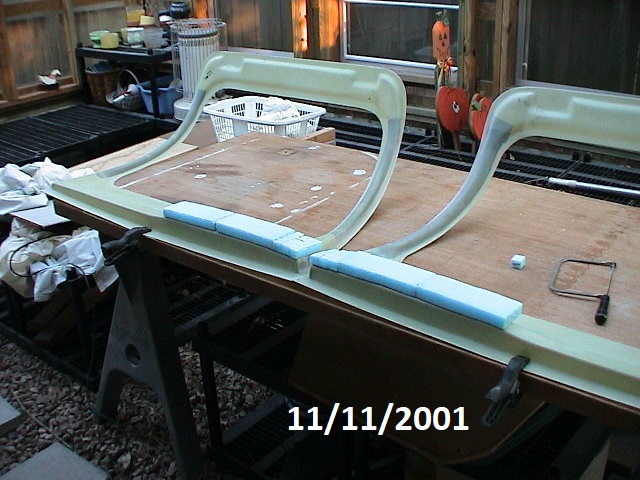 |
Before installing the door glass I have followed the lead
of other builders and decided to do the preliminary work on installing
larger arm rests and the door locks from Lyle Hendricks. I used
pieces of blue foam and 5-minute epoxy to buildup the basic shape for
the arm rests. |
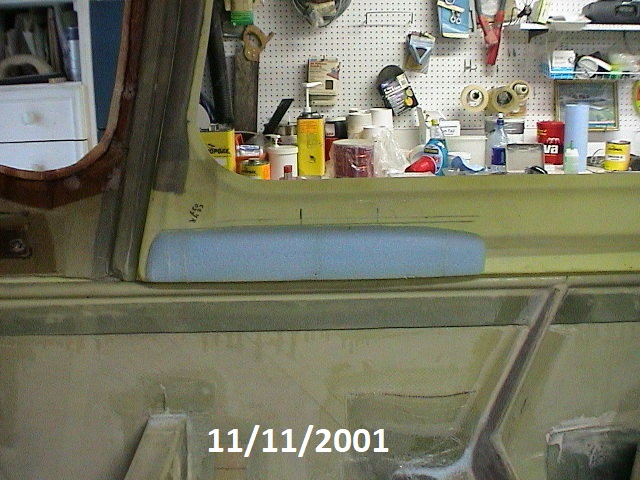 |
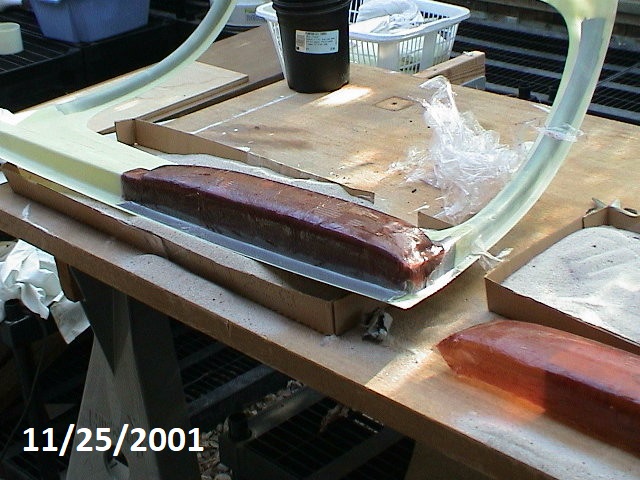
The blue foam has been filled in and sanded into the
desired shape. I plan to have the throttle and prop controls on
each side of the instrument panel so I wanted the arm rest to extend a
bit further forward. |
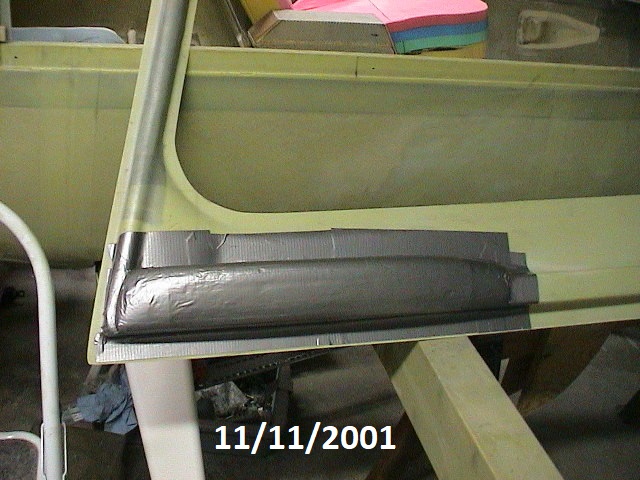 |
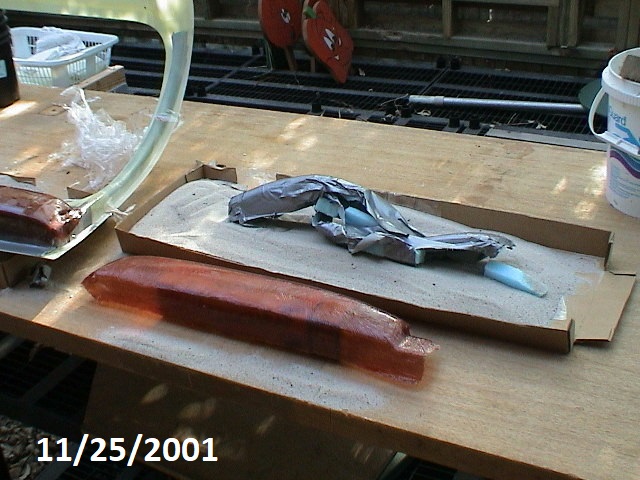
A little bit of duct tape and the arm rest is ready to lay
up glass over the form. This would be one place where the vacuum
bagging would be a great aid. |
 |
|
| I could not justify the time and expense of a
vacuum bagging system for the few molded parts that I needed. I
tried on a couple of prior parts to just tape everything in place but
had limited success since multiple layers of glass do not tend to
follow shapes real well. The problem is always how to hold the
glass against the form while it hardens. |
 |
|
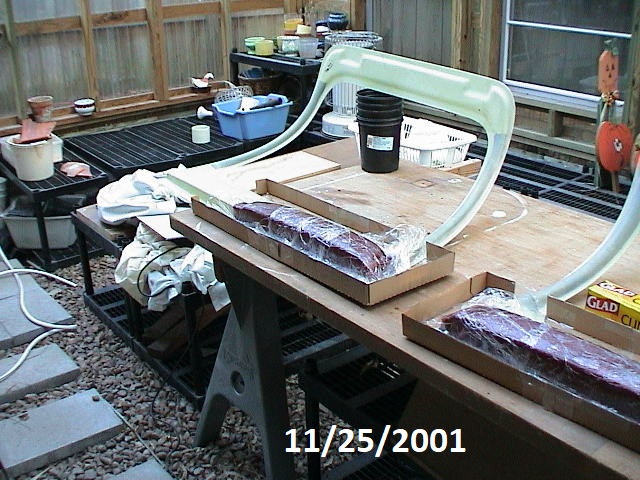
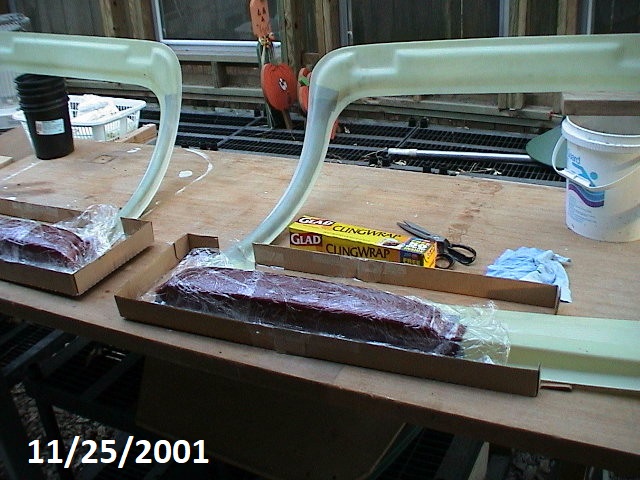
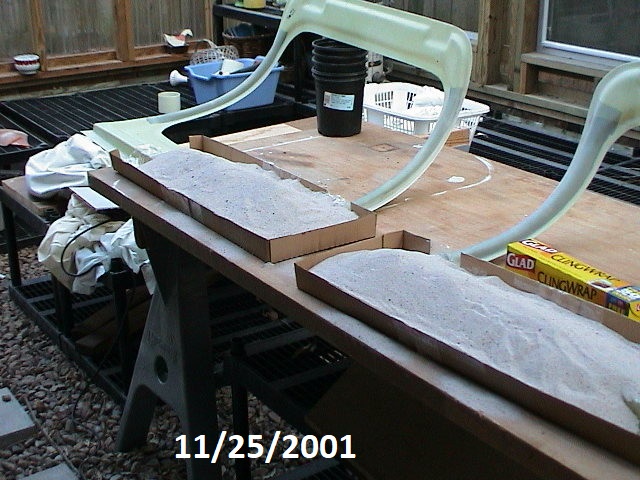
| My idea was to come up with a method of
holding the glass against the form while is set. I first placed
everthing in a couple of flat boxes. I covered the forms with the
Glass Bid and then used SARAN WRAP to cover the glass. The one
mistake I made was to not smooth out the Saran Wrap over the glass
which resulted in a less than smooth surface. |
 |
|
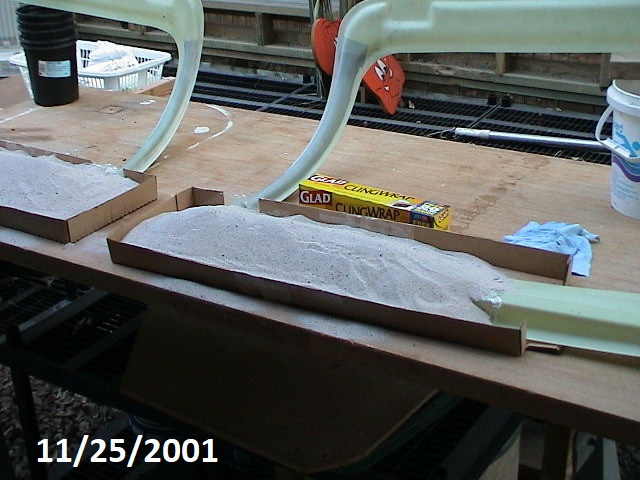
| Next I covered the layups with a thick cover
of sand and patted it down tightly against the form to ensure that the
BID was held tight against the form. Now we wait to see if it was
a bad idea..... |
 |
|
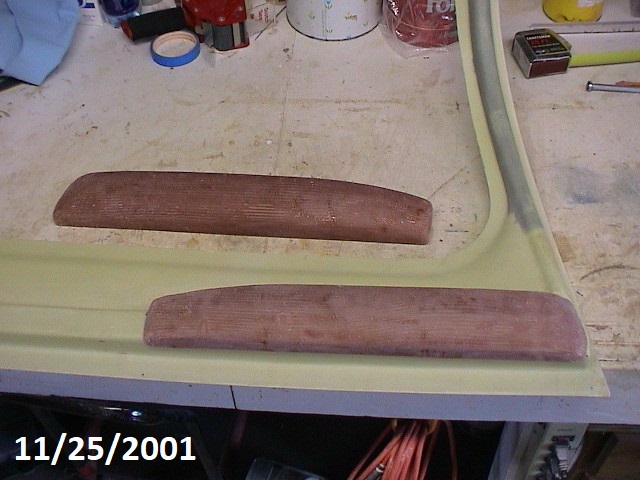 |
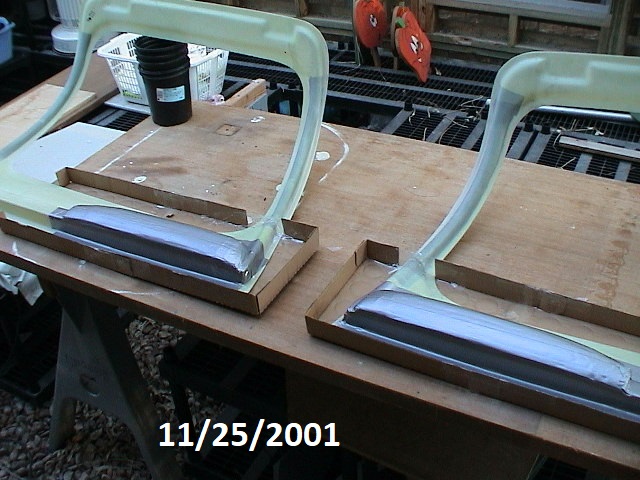
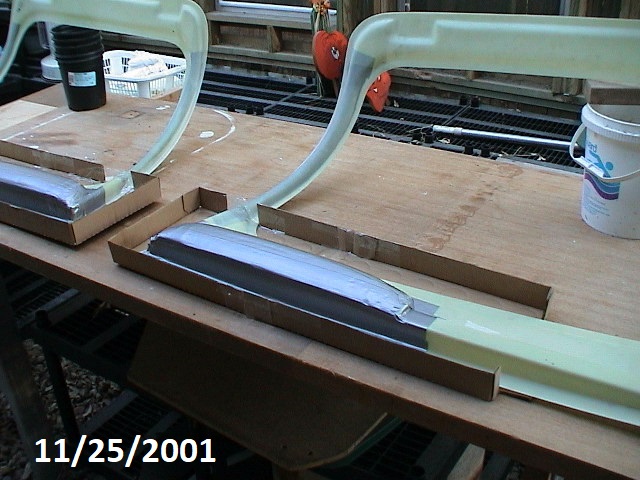
After curing the sand was removed. The Saran Wrap
peeled off easily without sticking.
IT WORKED!
It took some work to get the part off the mold since it
stuck to the duct tape more than I thought it would.
After a bit of sanding and trimming the arm rests fit like a glove.
All that is needed now is a couple of mounting brackets and some
upholstry.
|
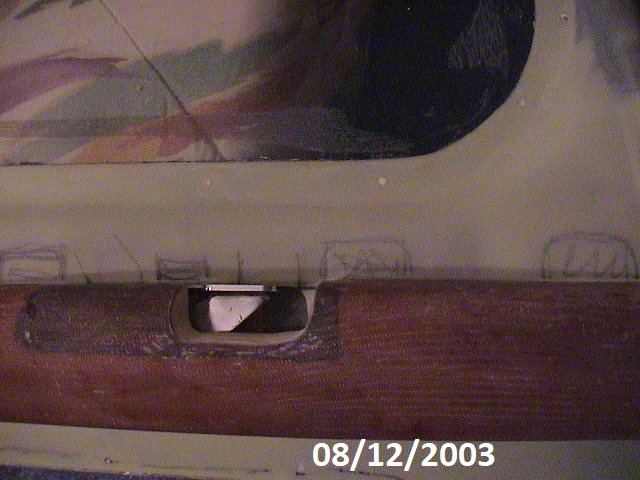 |
The arm rest is positioned on the door and the cutout for
the inside latch handle has been made. A balsa wood block was
bonded to the inside of the armrest and shaped to the opening.
Once the arm rest is padded and covered the handle will be
recessed from accidental contact. |
|
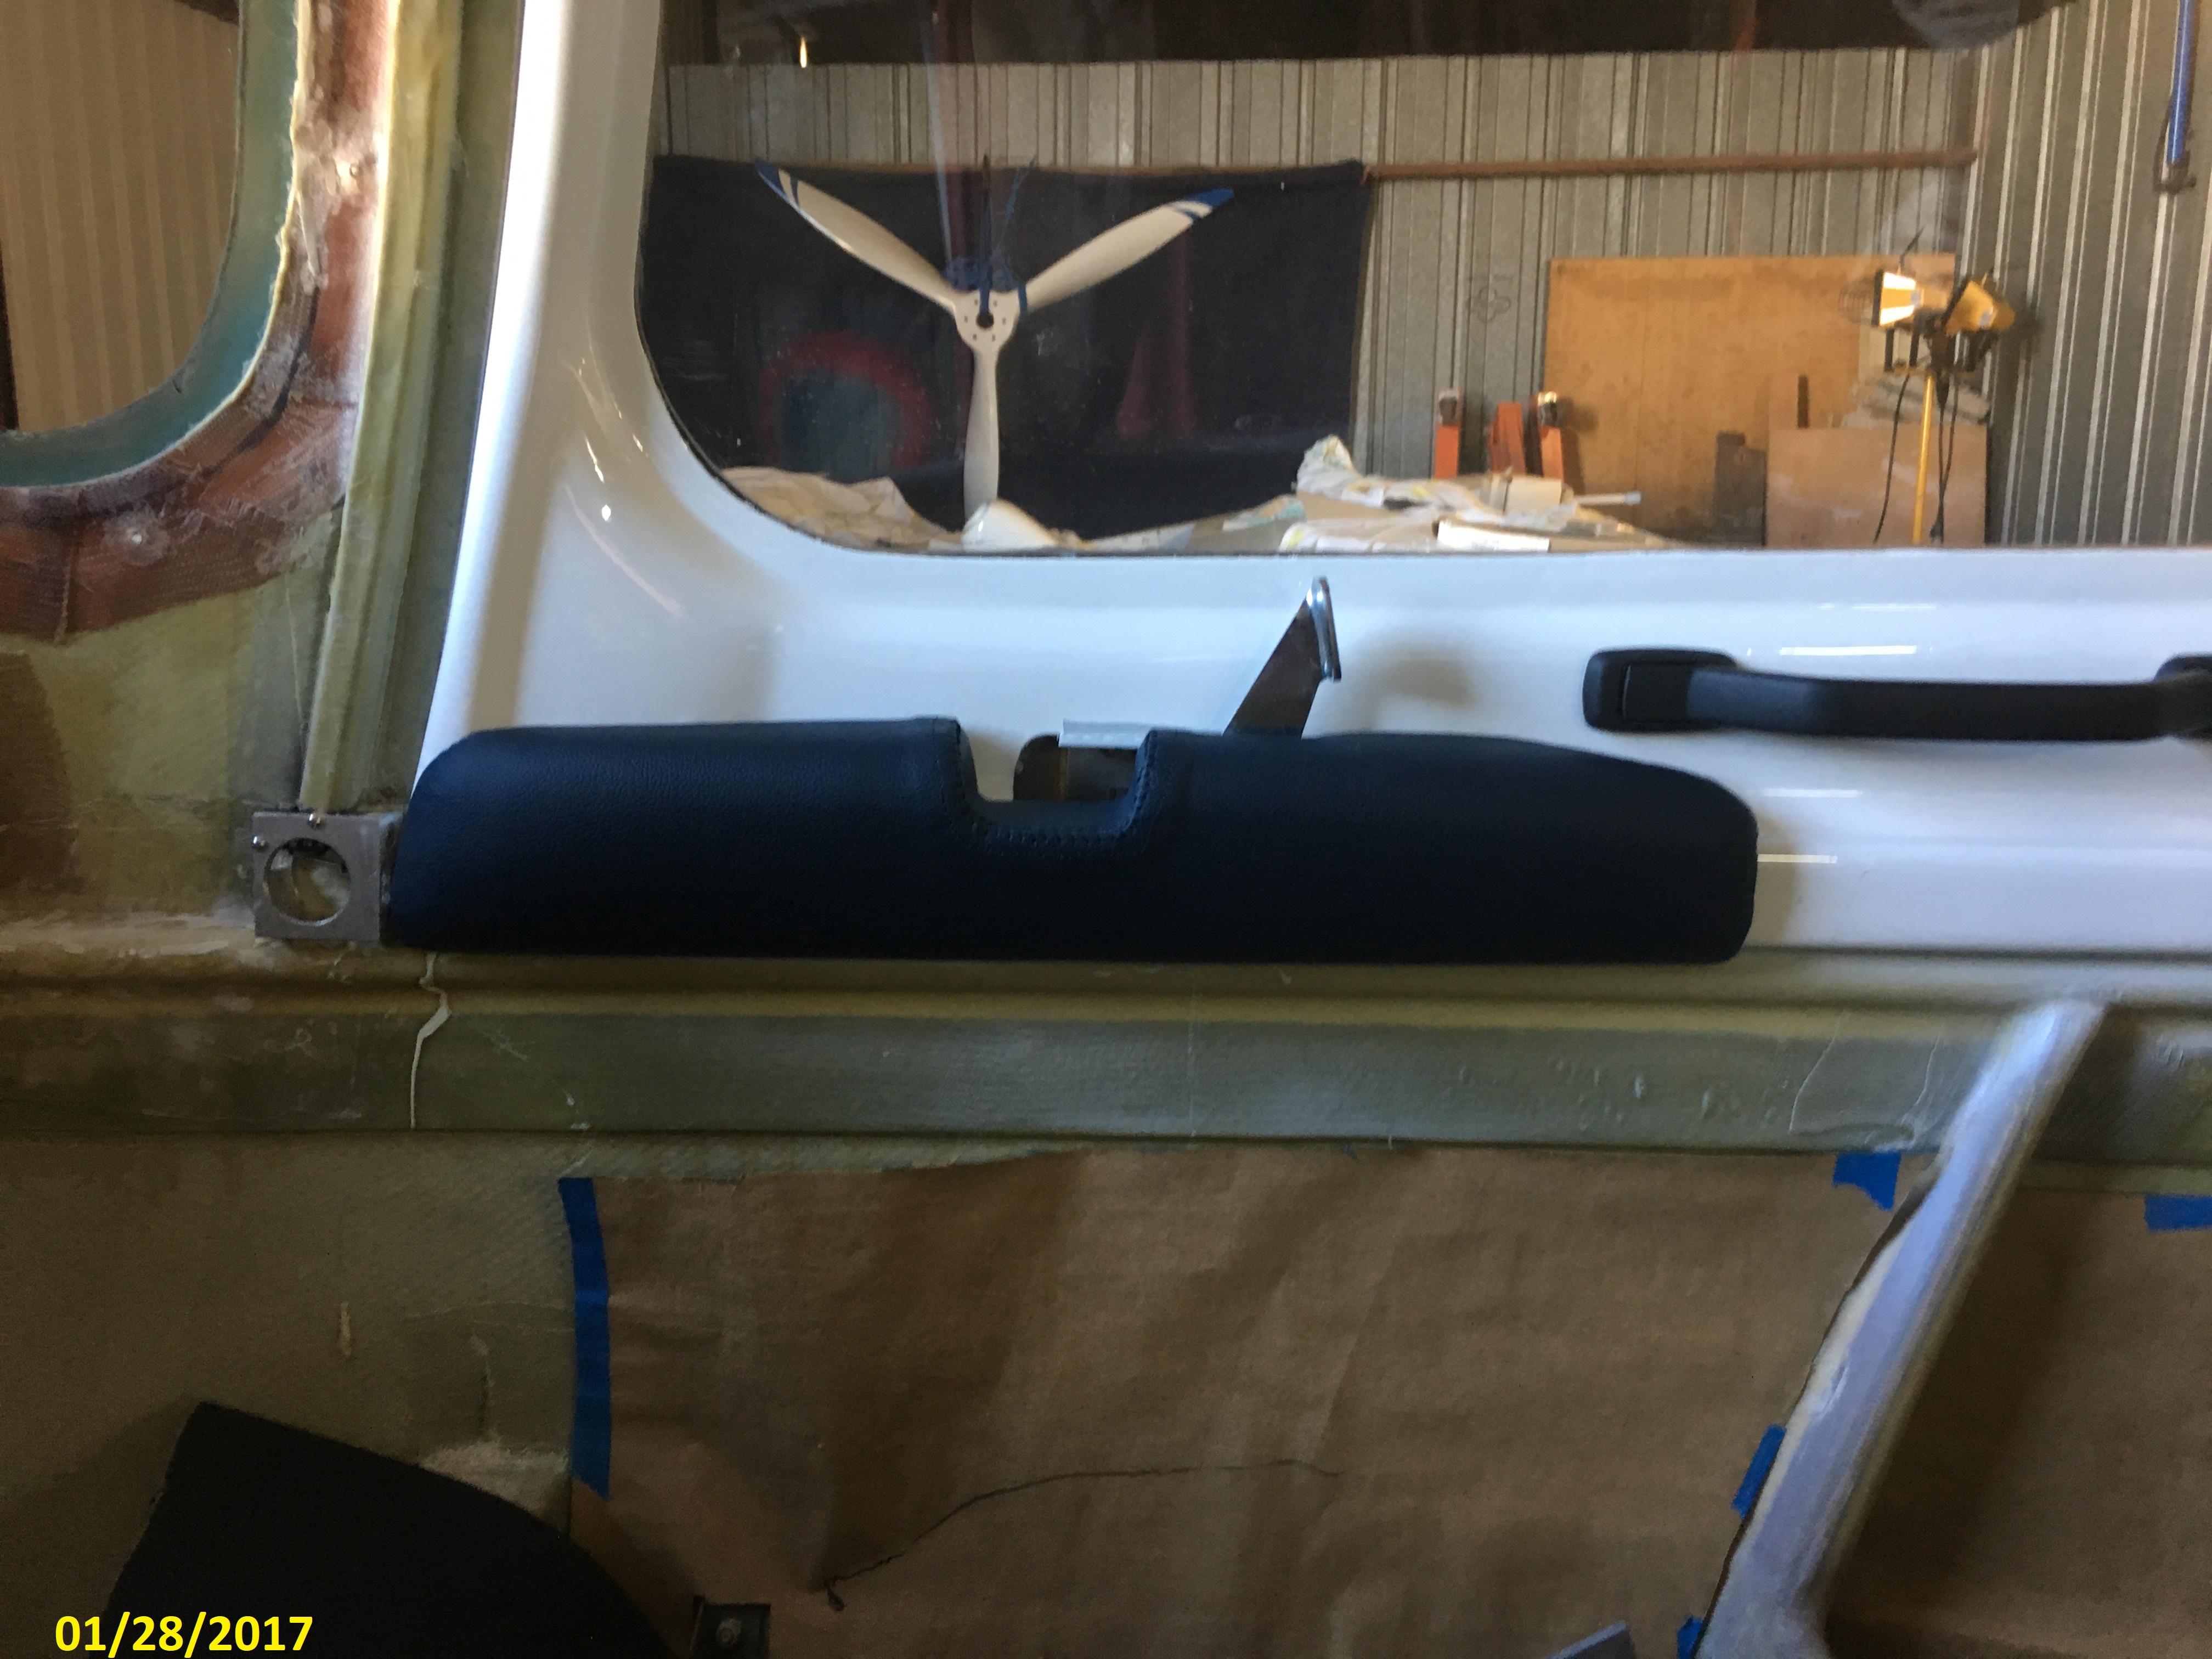
Jump forward many years and
the final product is done, upholstered and installed. Surprise,
they actually look rather nice.
|