Photo Description
Building a KIS Cruiser Wing
by
Bill Schertz, December, 1998
The following text is to be viewed along with a number of photographs of the construction of my wing. These may be of help to other builders as they proceed through these steps of the manual. If you have any doubts between how I did things and how they are described in the manual, please follow the manual or contact TRI-R for clarification. This is NOT a substitute for the assembly model, it just shows how I approached the task.
Center & Wing Spars
|
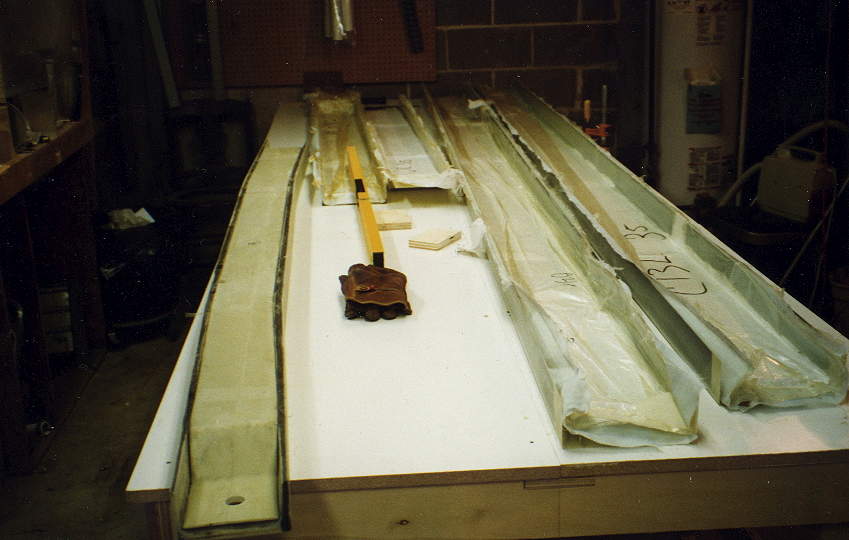
This shows the spars, spar closeouts, and completed center spar as I was preparing to work on the wing. I got the “quick-build” kit, so the center section of the spar was already assembled.
 |
Sanding the interior of the spar to allow the closeout section to fit properly into the spar. This required a lot of sanding, also on the closeout section. Talking with Rich, he told me to narrow the flange on the closeout section so that it didn’t have to go all the way to the bottom of the spar. This made it fit better, with less sanding, etc.
 |
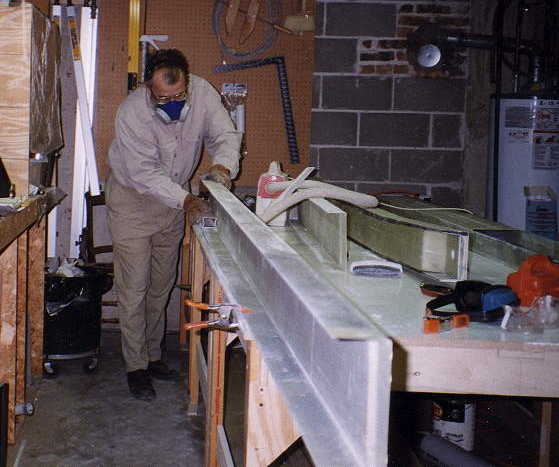
Bonding the closeout section of the spar into place, with the spar flat down on the table, with a level at each end to ensure no twist. Other items to note: the vacuum cleaner suspended from the ceiling is controlled by a “Radio-Shack” remote, so I can grab the hose, and vacuum up dust very quickly and easily.
 |
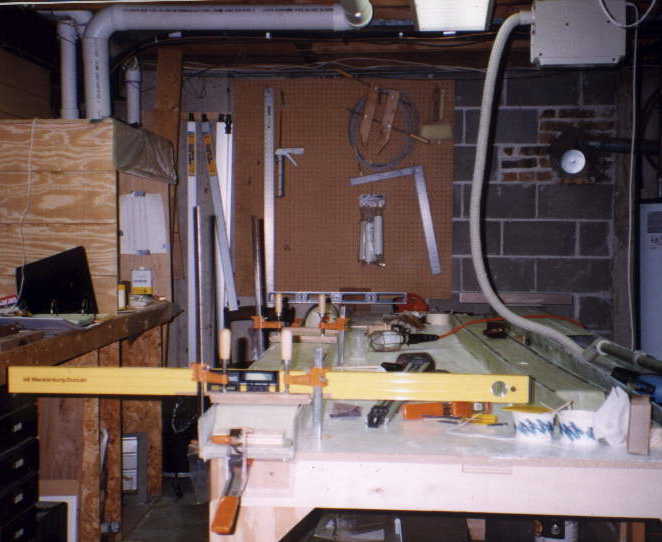
Aligning the spars for bonding in the Aluminum Inserts. This operation performed in my garage to get the length needed. Center spar placed on sawhorses, then main spar lined up and leveled before bonding the Al bushings. To get the 3-degree setting, I snapped a chalkline on the garage floor, marked the intersection of the main and center spar, and then calculated how many inches up from the chalkline the end of the spar should be at a distance ‘x’ from the intersection point. I then used sighting and a plumb-bob to align the spars with the appropriate chalk-lines, and then Hysoled the bushings into place.